
Light Detection and Ranging? Light + Radar? Whatever the meaning behind the acronym, LIDAR data represents some of the highest detailed terrain scans available today. In previous posts, I have used wider scaled data suited to larger sized landscapes. GEBCO bathymetry and SRTM topography brilliantly show you regional and continental sized trends in the surface terrain, however to investigate individual mountain slopes or incised channels meandering through hillsides, we must get acquainted with LIDAR.
The UK Environment Agency has released a comprehensive database of LIDAR survey scans into the public domain. Downloadable in .asc raster format, the available tiles come in resolutions of 2m, 1m and in some case 50cm. The website is easy to use and shaded areas reflect where LIDAR files can be downloaded.
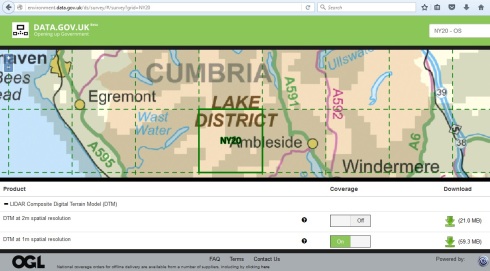
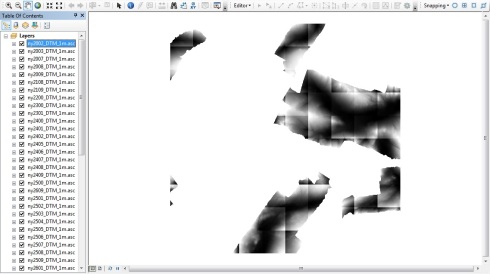
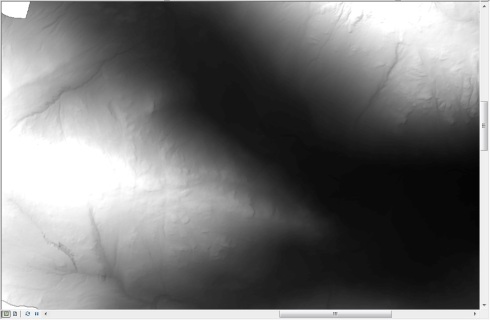
I choose 4 adjacent grids in the south western Lake District area around England’s highest peak: Scafell Pike- 978m (As you can see in the images above and below, terrain at higher altitude is not available and appears as unshaded/blank space, this lack of data is likely due to flight path limitations of the survey planes). Starting with one of the chosen grids, a total of 30+ .asc files @ 1m resolution are imported into ArcMap. Immediately we can see a problem in that each tile has an independent symbology with a black/white colour ramp stretched for the values in each tile, rather than over the whole range of tiles. Therefore, I will need to need to merge the data into one raster grid using the ‘Mosaic to New Raster‘ geoprocessing tool in ArcToolbox.

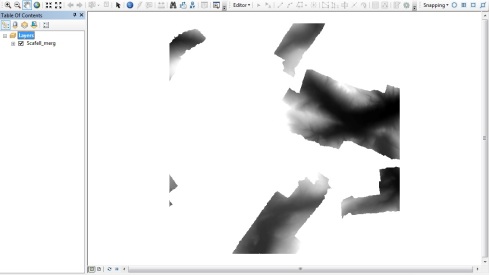
After a lengthy wait, we have our merged raster for the NY20 grid:
This whole process is repeated a further 3 times to encompass all 4 of the chosen grids in the area. The 4 resulting rasters are assigned identical symbologies and the background is given a black colour to prevent Unity 5 from thinking it is higher ground (black will effectively give the no_data a NULL value).
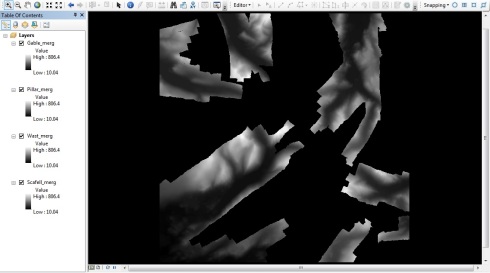
Zooming in, and using hillshade effect to help, we can see the tremendous detail offered by LIDAR imagery:
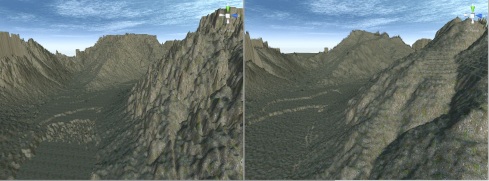
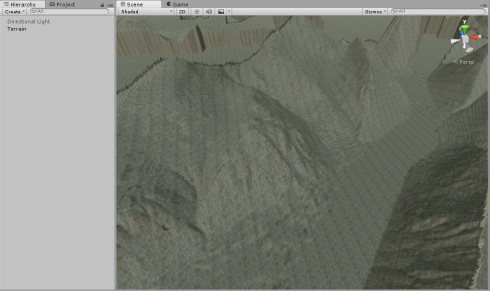
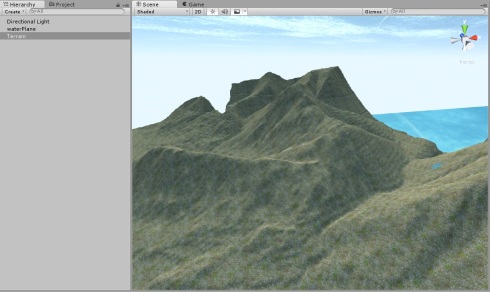
Using techniques mentioned in previous posts, this heightmap was imported into Unity at 2048×2048 pixel resolution and 16-bit greyscale depth. I also remembered to 1.disable hillshade effect on the heightmap before import (see example images below) and 2.flip the terrain to prevent Unity from (for reasons unknown) reversing the image. The result was my most ambitious experiment to date:

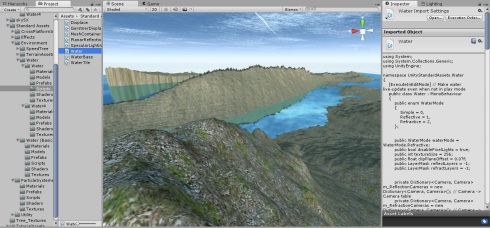
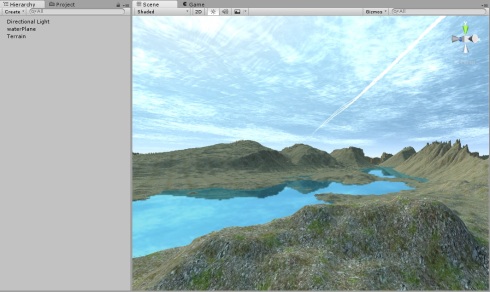
I decided to add a water plane at a realistic ‘Y’ height level. Unsatisfied with the look of the water from my last blog post, I now researched how to add reflections to the surface. To do this, I applied a C# script to the plane asset. This script and others are available in Unity’s standard assets library. The result is a lake that is not only transparent close up, but also reflects the blue skybox above:
So in summary: I’ve been able to source highly detailed LIDAR survey scans from a government portal, merge multiple mosaic tiles into 4 manageable rasters using geoprocessing tools, fix hillshade terrain errors, and add realistic water planes. In my next blog post I hope to explore other methods of importing DEM data into the 3D world.
